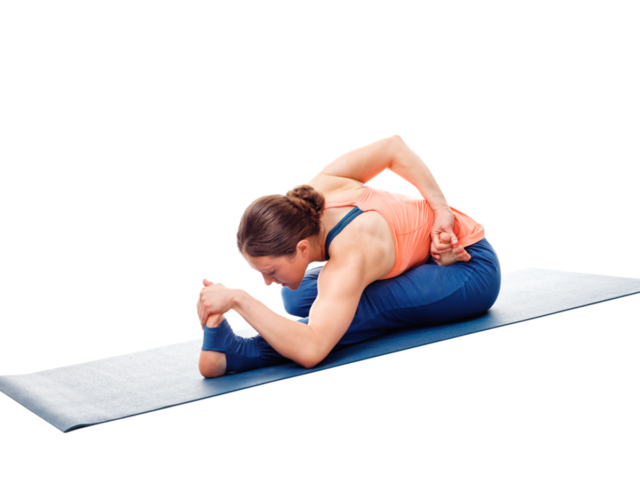
Looking for seated yoga postures that gracefully unravel the tightness in your hamstrings, leading to improved flexibility and a tranquil mind? Whether you’re a seasoned yogi or a curious beginner, join us as we explore the blissful realm of seated yoga poses, inviting you to embrace the harmony between body and spirit.
4 Effective seated yoga postures for stretching your hamstring muscles
1. Seated Half Forward Bend Pose (Ardha Paschimottanasana)
Shutterstock
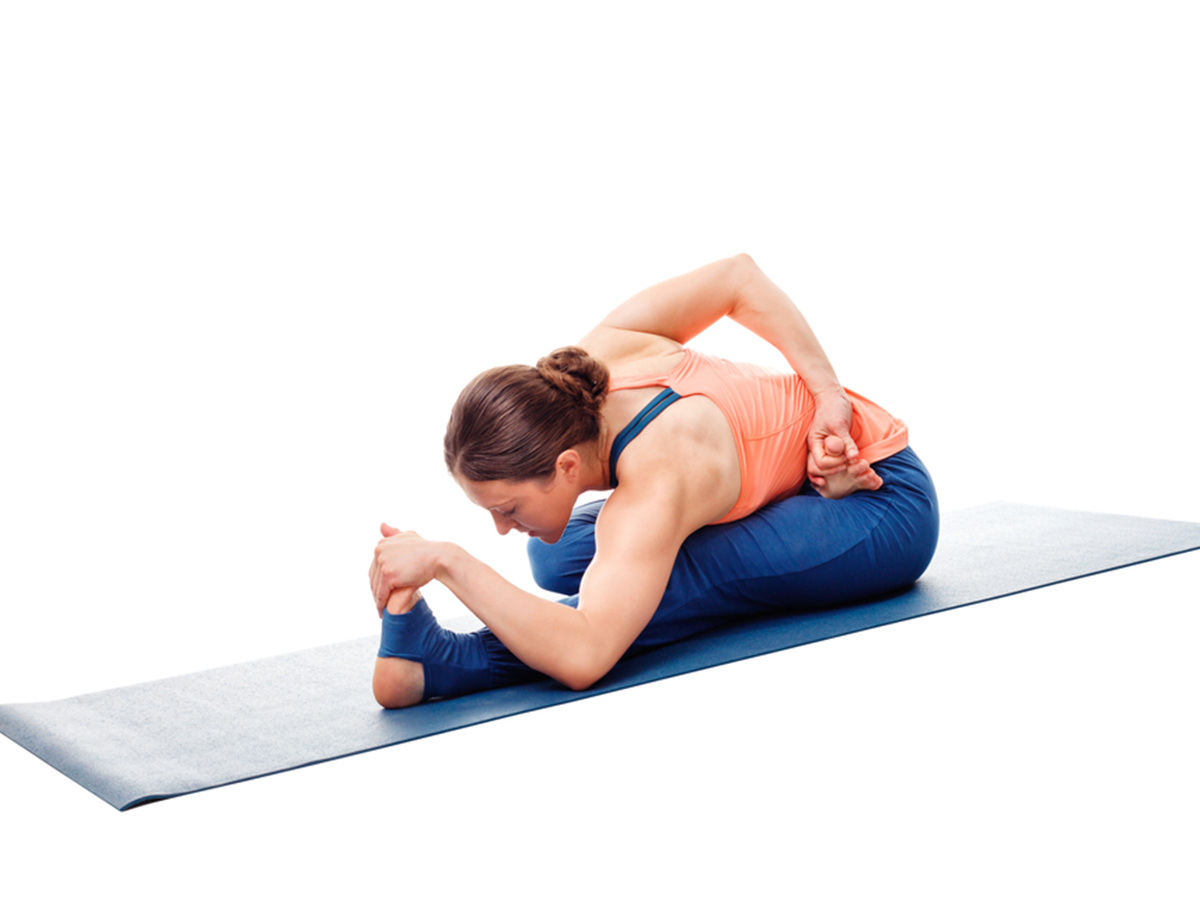
Seated Half Forward Bend Pose, also known as Ardha Paschimottanasana, is a seated yoga pose that stretches the back of the body, including the hamstrings, lower back, and shoulders. It is a more accessible variation of the full Seated Forward Bend (Paschimottanasana), making it suitable for practitioners who may have limited flexibility or tight hamstrings.
Here are the steps to practise Ardha Paschimottanasana:
1. Start by sitting on the floor with your legs extended straight in front of you (staff pose or Dandasana).
2. Ensure that your spine is straight, and sit on your sit bones to create a stable foundation.
3. Bend your right knee and draw your right foot closer to your torso, placing the sole of your right foot against your left inner thigh. Your right knee should be pointing out to the side.
4. Inhale and reach both arms overhead to lengthen your spine and create space between your ribs and pelvis.
5. Exhale as you begin to hinge at your hips, leading with your heart. Keep your back straight as you fold forward over your left leg.
6. As you fold forward, aim to reach your hands toward your left foot or shin. If you can’t reach your foot comfortably, you can use a yoga strap around your foot or hold onto your calf instead.
7. Keep your chest open and extended, avoiding any rounding of your back. The focus should be on lengthening your spine rather than how far you can reach.
8. Take deep breaths as you hold the pose for 30 seconds to one minute, allowing your hamstrings and lower back to release and relax.
9. Inhale as you come back up to an upright position, and then switch sides by extending both legs out again.
Tips:
• Flex your feet throughout the pose to engage your leg muscles and protect your knees.
• Keep your shoulders relaxed away from your ears.
• If you find it challenging to keep your spine straight, you can place a folded blanket or cushion under your sitting bones to elevate your hips slightly.
2. Head-to-Knee Forward Bend Pose (Janu Sirsasana)
Shutterstock
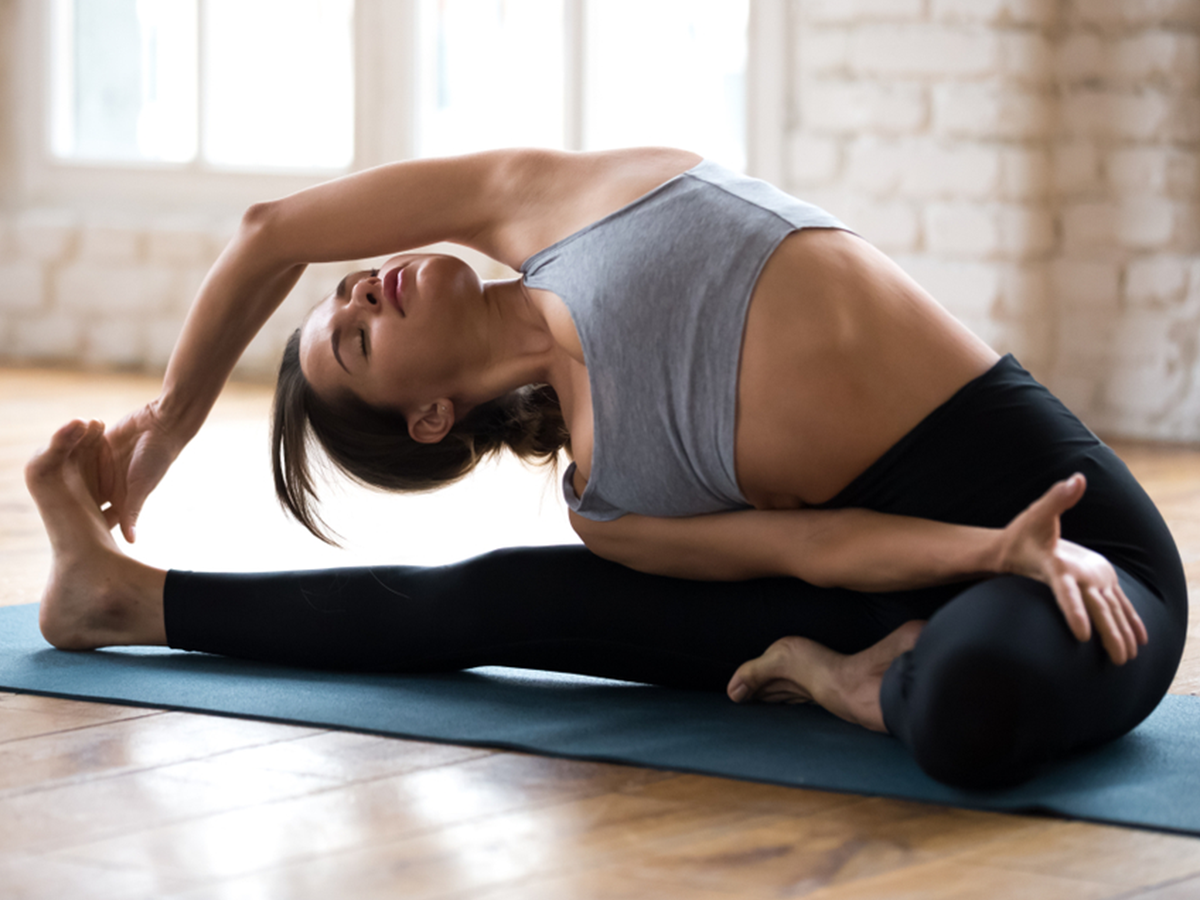
Head-to-Knee Forward Bend Pose, also known as Janu Sirsasana, is a seated yoga pose that provides a deep stretch to the hamstrings, groins, and lower back. It is a wonderful pose for increasing flexibility and calming the mind.
Here are the steps to practise Janu Sirsasana:
1. Start by sitting on the floor with your legs extended straight in front of you (staff pose or Dandasana).
2. Bend your right knee and bring the sole of your right foot against your left inner thigh. Your right knee should be pointing out to the side, and your right foot should be close to your left inner thigh.
3. Inhale and lengthen your spine, ensuring your sitting bones are grounded and your back is straight.
4. Exhale as you gently rotate your torso to face your left leg. The centre of your chest should be aligned with your left leg.
5. Inhale and lift both arms overhead, lengthening your spine even further.
6. Exhale as you hinge at your hips and reach forward with your arms, aiming to hold onto your left foot with both hands. If you can’t reach your foot comfortably, you can hold onto your ankle or use a yoga strap around your foot.
7. Keep your chest open and extended, avoiding any rounding of your back. The focus should be on lengthening your spine and bringing your belly toward your left thigh.
8. As you hold the pose, continue to breathe deeply and relax into the stretch. With each exhalation, you can gently deepen the forward bend if your body allows.
9. Hold the pose for 30 seconds to one minute, then release the grip and come back to an upright position.
10. Repeat the same steps on the other side, bending your left knee and bringing the sole of your left foot against your right inner thigh.
Tips:
• Flex your left foot throughout the pose to engage your leg muscles and protect your knee.
• Keep your shoulders relaxed away from your ears.
• If you find it challenging to reach your foot, focus on extending your spine and bringing your chest toward your thigh. Over time, with regular practice, your flexibility will improve.
Janu Sirsasana is a calming and rejuvenating pose that stretches the entire back body and stimulates the abdominal organs. It is a seated forward bend suitable for most practitioners, but if you have any knee or lower back issues, approach the pose with caution or consult a yoga instructor or healthcare professional before attempting it.
3. Seated Wide-Legged Forward Bend Pose (Upavistha Konasana)
Shutterstock
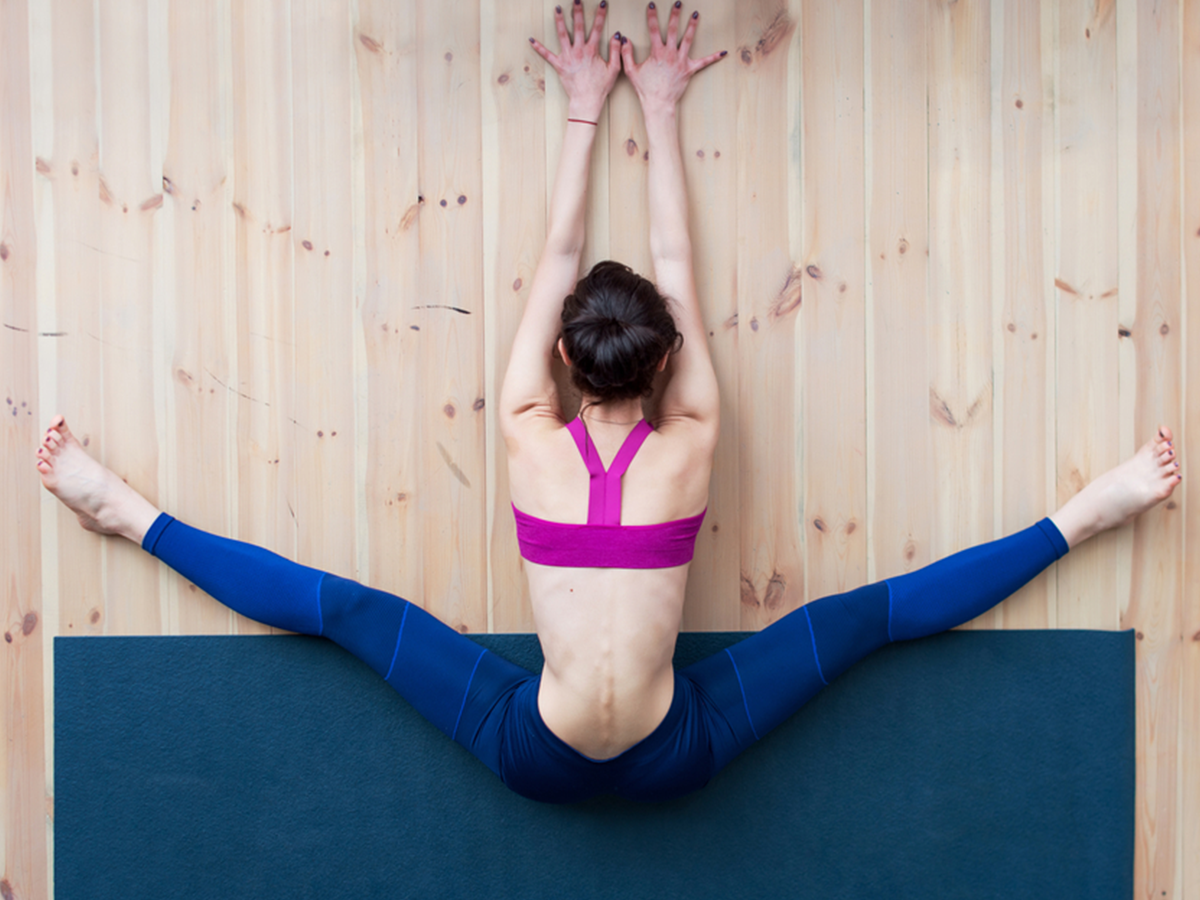
Seated Wide-Legged Forward Bend Pose, also known as Upavistha Konasana, is a seated yoga pose that stretches the inner thighs, hamstrings, and groins. It is an excellent pose for opening up the hips and improving flexibility in the legs.
Here are the steps to practise Upavistha Konasana:
1. Start by sitting on the floor with your legs extended straight in front of you (staff pose or Dandasana).
2. Open your legs wide apart as much as is comfortable for you. The wider your legs, the deeper the stretch will be. Make sure your toes are pointing towards the ceiling.
3. Sit up tall, lengthening your spine, and engage your leg muscles by flexing your feet.
4. Place your hands on the floor beside your hips, fingers pointing forward, to support your spine and keep your chest lifted.
5. Inhale and lengthen your spine even more.
6. Exhale as you begin to hinge at your hips, leading with your heart. Start to walk your hands forward between your legs, keeping your back straight.
7. Only go as far forward as your body allows without rounding your back or straining your muscles. The goal is to maintain length in your spine.
8. If you can reach comfortably, you can place your hands on the floor in front of you. If not, you can rest your hands on your shins or thighs.
9. Hold the pose for 30 seconds to one minute, breathing deeply and relaxing into the stretch.
10. To come out of the pose, engage your core muscles and use your hands to help lift your torso back up to an upright position.
Tips:
• Keep your legs and feet active throughout the pose by flexing your feet and pressing your thigh bones firmly into the floor.
• Ensure that your knees are facing the ceiling and not rolling inward.
• If you find it challenging to keep your back straight, you can place a folded blanket or cushion under your sit bones to elevate your hips slightly.
• Remember to breathe deeply and relax your muscles as you hold the pose.
Upavistha Konasana is a great yoga pose for stretching and opening up the lower body. Regular practice can help improve flexibility in the hips and legs.
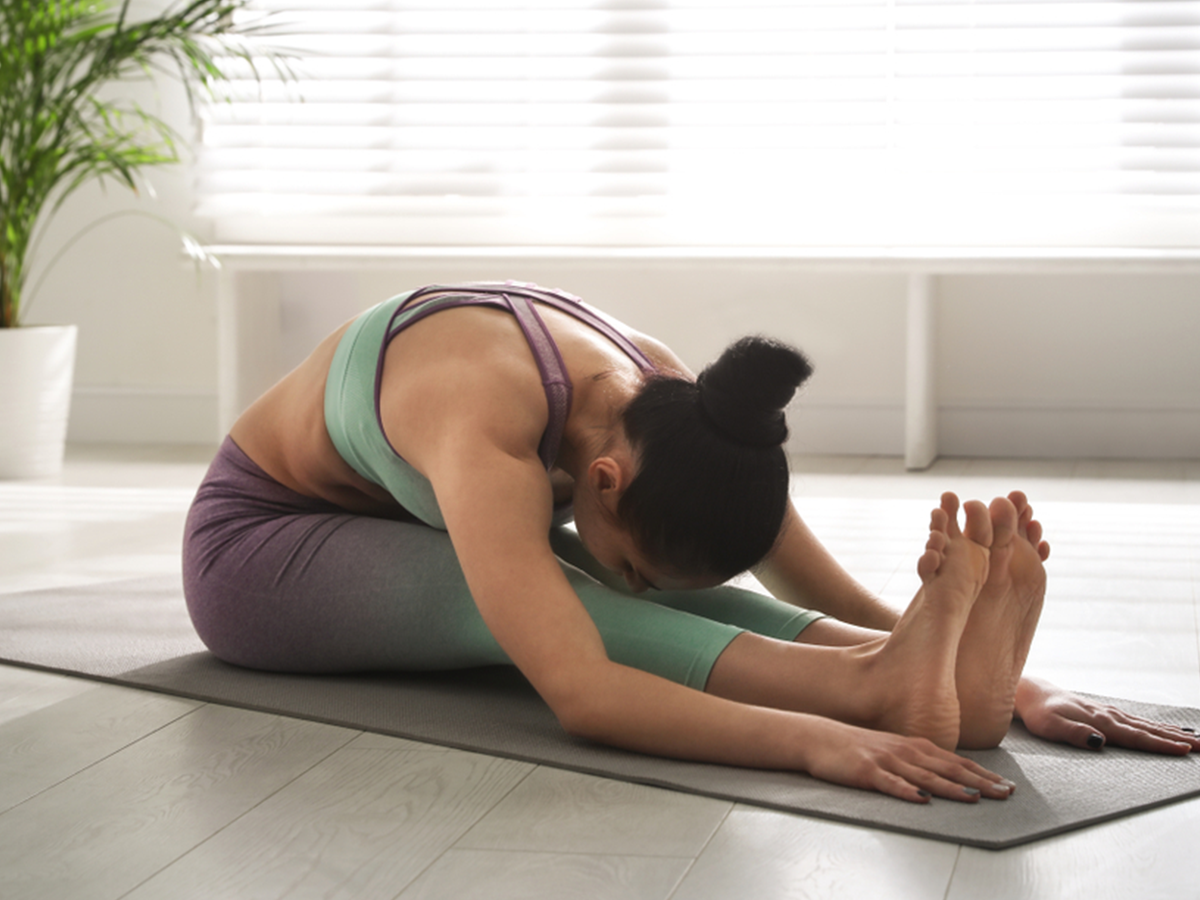
4. Seated Forward Bend Pose (Paschimottanasana)
Shutterstock
Seated Forward Bend Pose, also known as Paschimottanasana, is a classic yoga pose that provides a deep stretch to the entire back body, particularly the hamstrings, lower back, and spine. It is a calming pose that can help relieve stress and improve flexibility.
Here are the steps to practise Paschimottanasana:
1. Start by sitting on the floor with your legs extended straight in front of you. Ensure that your spine is tall, and you are sitting on your sit bones to create a stable foundation.
2. Inhale and lengthen your spine, reaching the crown of your head towards the ceiling.
3. Exhale as you engage your core muscles and start to hinge at your hips. Lead with your heart as you fold forward, keeping your back straight.
4. Reach your hands forward along your legs, aiming to hold onto your feet. If you can’t reach your feet comfortably, you can use a yoga strap around your feet or hold onto your shins instead.
5. Avoid rounding your back as you fold forward. Instead, maintain a long spine and keep your chest open.
6. With each inhale, lengthen your spine a bit more, and with each exhale, see if you can fold a little deeper into the stretch.
7. Hold the pose for 30 seconds to one minute, breathing deeply and relaxing into the stretch.
8. To come out of the pose, engage your core muscles and slowly begin to rise back up, leading with your heart.
Tips:
• Flex your feet throughout the pose to engage your leg muscles and protect your knees.
• If you have tight hamstrings or limited flexibility, it’s okay if you can’t reach your feet with your hands. The primary focus should be on lengthening your spine and feeling the stretch in your hamstrings.
• Avoid forcing yourself into the pose; instead, let your body gradually open up with regular practice.
Paschimottanasana is a powerful stretch that can have various benefits, including relieving tension in the back and promoting digestion.
Special Story [widgetId: 20472]
Social and lead images credits: Dharma Productions, Viacom 18 Studios, Jouska Films

