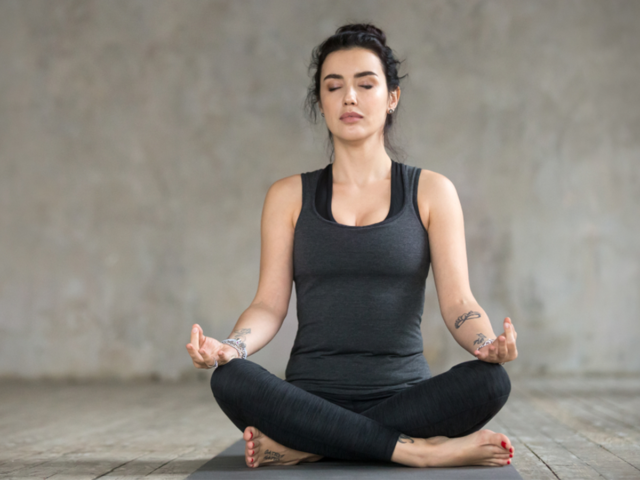
Seated yoga poses strengthen the knees and ankles through stability, controlled movements, weight-bearing, and balance challenges. By engaging the muscles around these joints and maintaining proper alignment, you build strength and stability.
Practising these poses gradually and with proper alignment can contribute to stronger and healthier knees and ankles. Here are five effective yoga poses to strengthen your knees and ankles.
5 Best seated yoga poses for knees and ankles
1. Sukhasana yoga pose (Easy pose)
Credits: Shutterstock
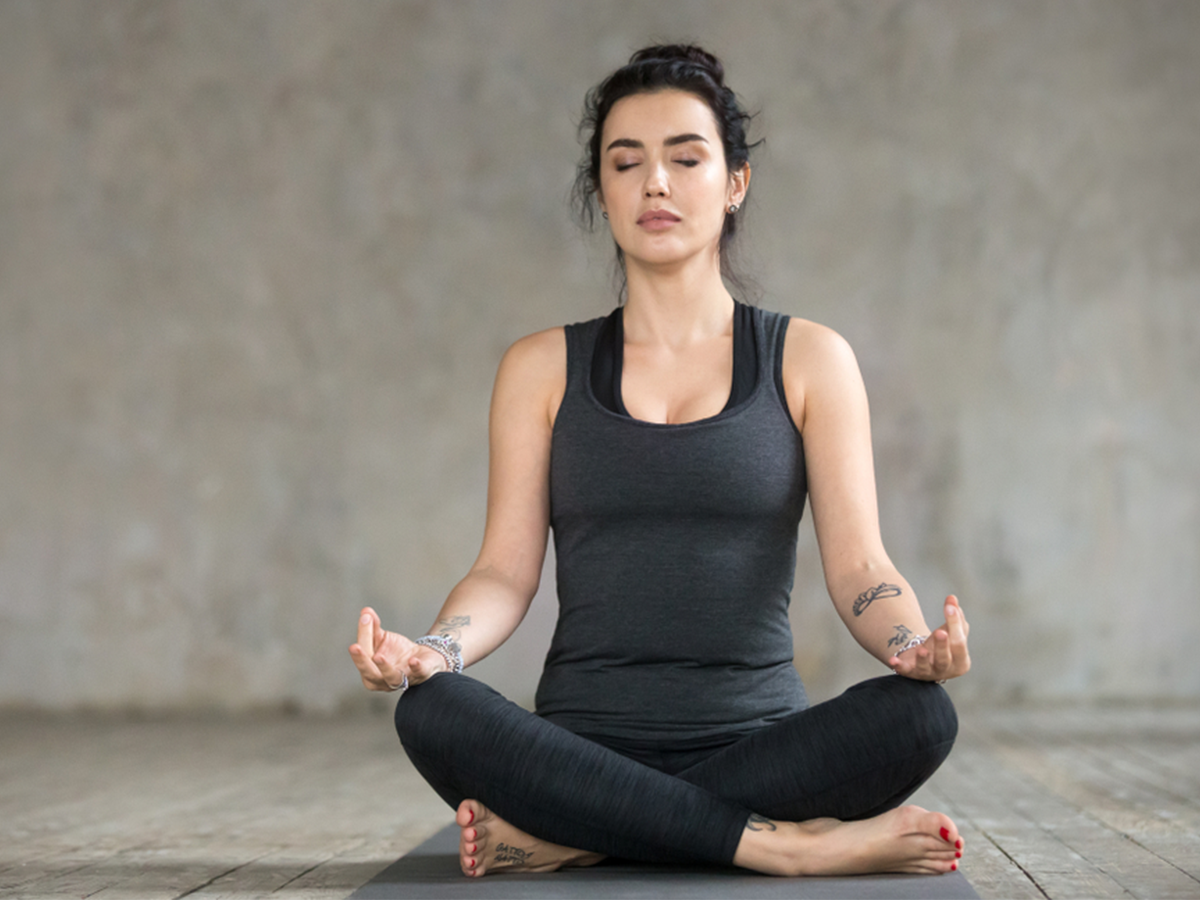
Sukhasana is a simple and foundational pose that is accessible to practitioners of all levels, including beginners. To practise Sukhasana (Easy Pose) with a focus on knees and ankles, follow these steps:
1. Find a quiet and comfortable space where you can sit on the floor. You can also use a folded blanket or cushion to sit on if needed to provide additional support.
2. Begin by sitting with your legs extended in front of you. Gently rock from side to side, rolling onto each buttock, to release any tension in the hips and lower back.
3. Cross your legs at the shins, bringing your right ankle to rest in front of your left ankle. If it’s more comfortable for you, you can place your feet underneath the opposite knee instead.
4. Rest your hands on your knees or thighs, palms facing down or up, whatever feels natural and comfortable for you.
5. Lengthen your spine by imagining a string pulling you up from the crown of your head. Keep your shoulders relaxed and away from your ears.
6. Close your eyes or soften your gaze, and take slow, deep breaths. Relax your facial muscles and jaw.
7. While in Sukhasana, you can gently flex and point your toes to provide some movement and stretch to your ankles.
8. If you experience any discomfort or strain in your knees or ankles, you can modify the pose by sitting on a folded blanket or cushion, or even by placing additional support under your knees or ankles.
9. Hold the pose for a few minutes, gradually increasing the duration as you become more comfortable.
2. Baddha Konasana yoga pose (Bound Angle pose)
Credits: Shutterstock
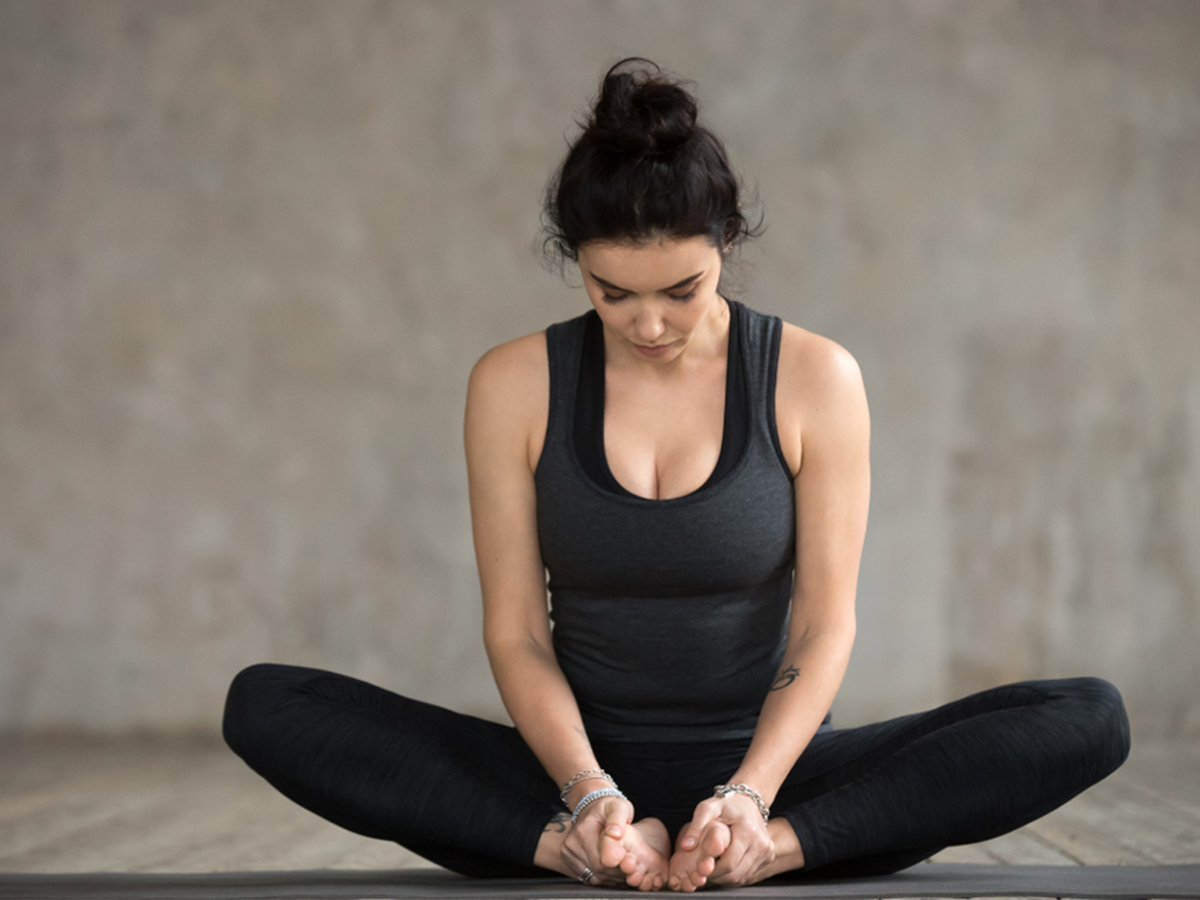
Baddha Konasana is a beneficial pose for opening the hips, stretching the inner thighs, and improving flexibility in the knees and ankles. To practise Baddha Konasana (Bound Angle Pose) with a focus on knees and ankles, you can follow these steps:
1. Start by sitting on the floor or on a yoga mat with your legs extended in front of you.
2. Bend your knees and bring the soles of your feet together, allowing your knees to drop out to the sides.
3. Use your hands to hold onto your feet or ankles. You can interlace your fingers around your toes or use a yoga strap around your feet if you can’t comfortably reach them.
4. Sit up tall and lengthen your spine. Imagine a string pulling you up from the crown of your head.
5. Engage your core muscles slightly to support your posture and prevent rounding in the spine.
6. Gently press your elbows against your inner thighs to deepen the stretch. Avoid putting excessive pressure on your knees. If you feel discomfort, back off slightly.
7. Allow your knees to relax and gently drop toward the floor. Don’t force them to go further than is comfortable.
8. Stay in this pose for one to five minutes, breathing deeply and relaxing into the stretch.
9. To release the pose, gently remove your hands from your feet and extend your legs forward.
Important tips:
• If you have tight hips or limited flexibility, you can sit on a folded blanket or cushion to provide support and make the pose more accessible.
• If your knees are elevated far off the ground, you can place folded blankets or yoga blocks underneath them for additional support.
• Be mindful of any discomfort or strain in your knees or ankles. Adjust the position or use props to find a comfortable stretch without pain.
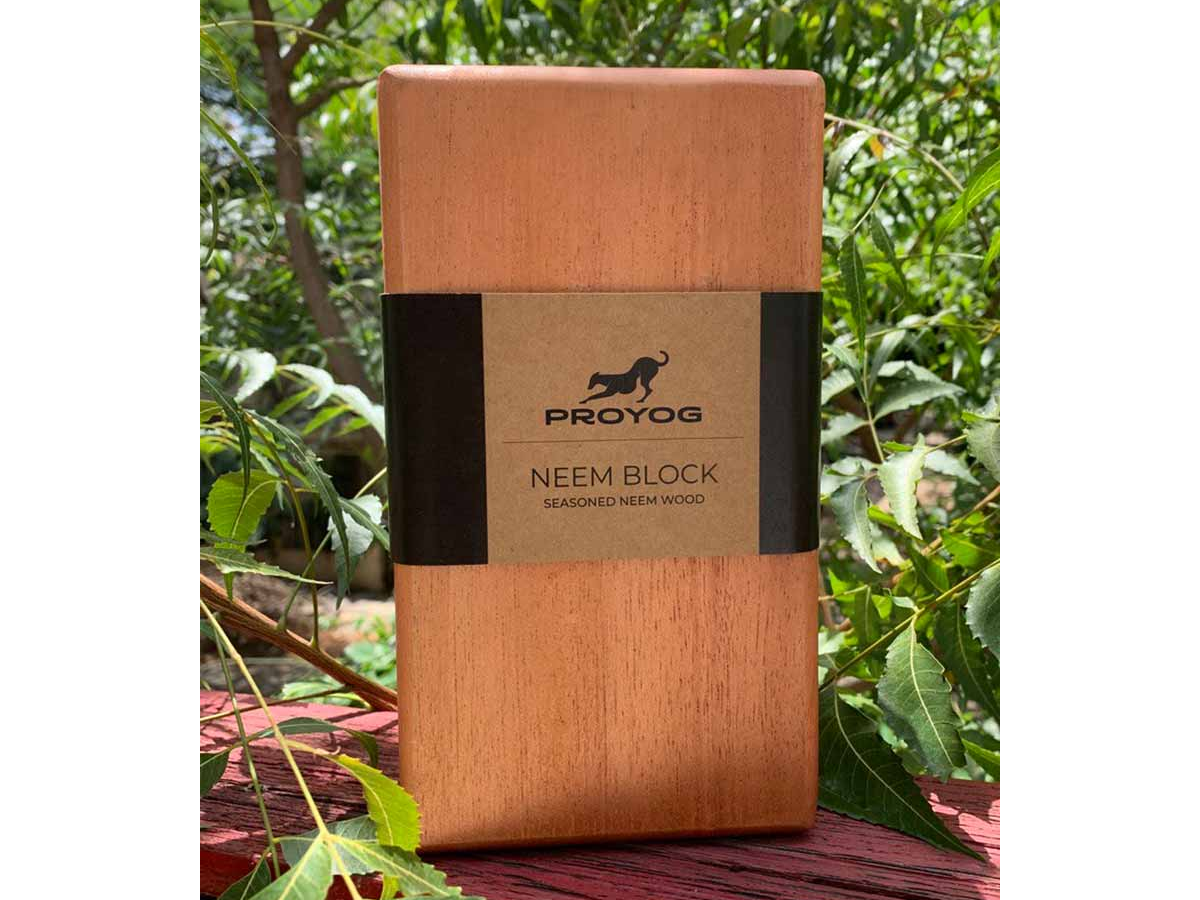
Our recommendation: Proyog Yoga Block Natural Neem Wood Yoga Prop
Credits: Proyog
The lightweight yoga block by Proyog, made with natural neem wood, helps in pushing your limits and do tough yoga poses like Bound Angle pose.
Price: INR 999
Buy it here
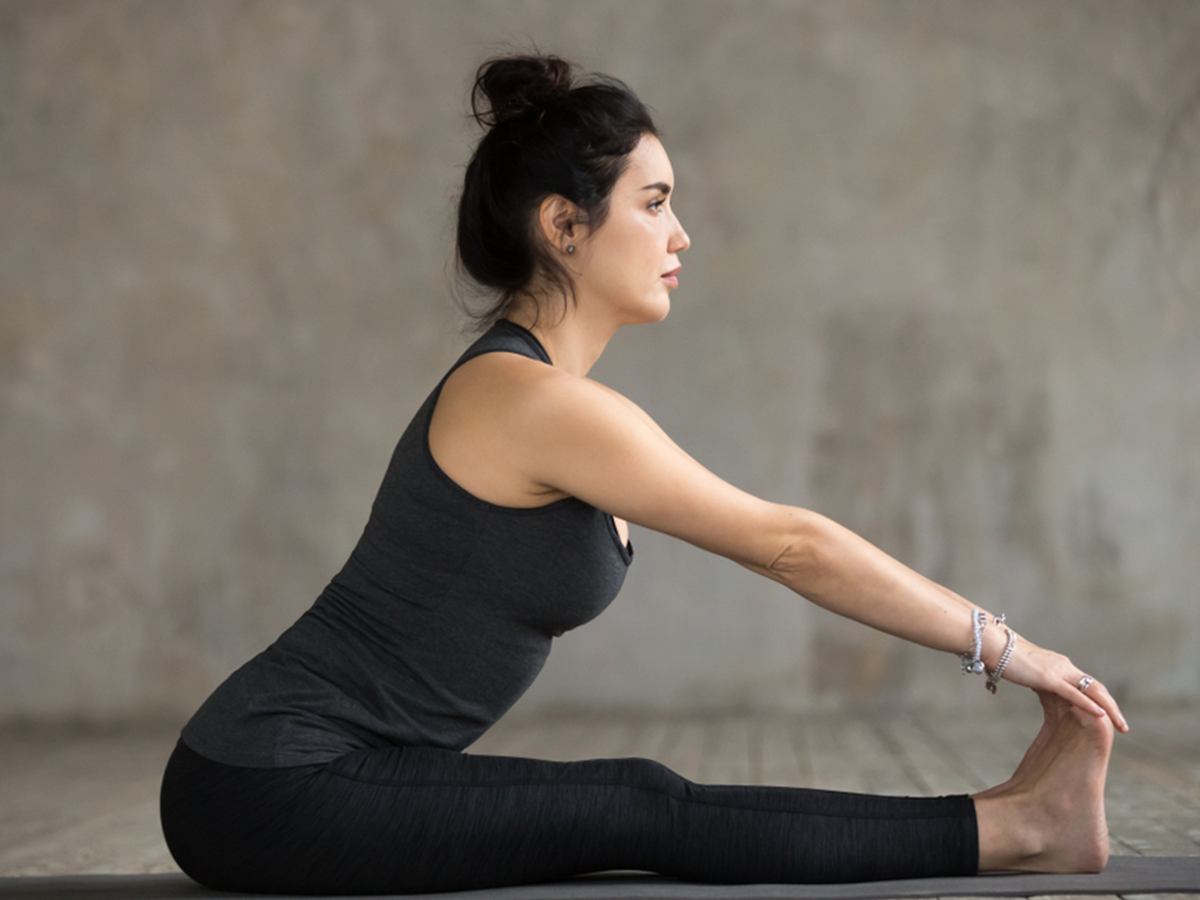
3. Paschimottanasana yoga pose (Seated Forward Bend pose)
Credits: Shutterstock
Paschimottanasana can help stretch the hamstrings, calves, and lower back while providing a gentle stretch for the knees and ankles. To practise Paschimottanasana (Seated Forward Bend) with a focus on knees and ankles, you can follow these steps:
1. Start by sitting on the floor or on a yoga mat with your legs extended in front of you. Sit up tall and lengthen your spine.
2. If you have tight hamstrings or limited flexibility, you can sit on a folded blanket or cushion to provide some elevation and support.
3. Take a deep breath in, and as you exhale, begin to hinge forward from your hips, leading with your chest.
4. Reach forward with your hands and aim to grab onto your feet, ankles, or shins. If you can’t reach your feet comfortably, you can use a yoga strap or a towel looped around the soles of your feet to help you maintain the forward bend.
5. Focus on maintaining length in your spine rather than rounding your back. Imagine elongating the front of your torso towards your legs.
6. Keep your knees slightly bent if you feel any discomfort or strain in your knees or ankles. The goal is to find a gentle stretch, not to force your body into an intense position.
7. Breathe deeply and relax into the pose. With each exhalation, you may find that you can deepen the forward fold slightly.
8. Hold the pose for about 30 seconds to one minute or longer if comfortable, while continuing to breathe deeply and relax.
9. To release the pose, slowly engage your core muscles and use an inhale to lift your torso back up to a seated position.
Important tips:
• Focus on your breath and allow yourself to surrender into the stretch gradually. Avoid any sudden or jerky movements.
• If your hamstrings feel very tight, you can bend your knees slightly or use props like blocks or blankets to support your hands and provide additional height.
• Remember that the intention of this pose is to create length and release tension, rather than achieving a deep fold.
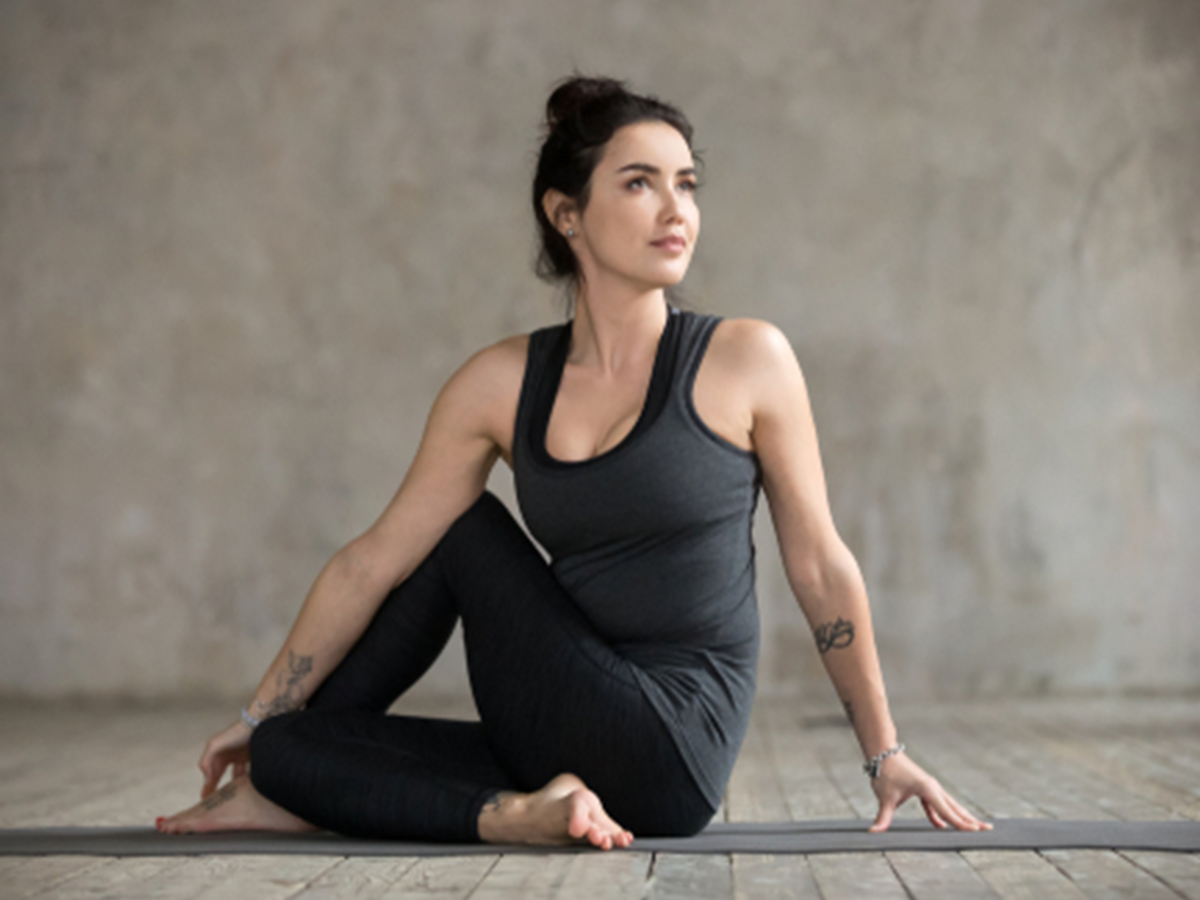
4. Ardha Matsyendrasana yoga pose (Half Lord of the Fishes pose)
Credits: Shutterstock
Ardha Matsyendrasana helps improve spinal mobility, stretch the hips, and provide a gentle opening for the knees and ankles. To practise Ardha Matsyendrasana (Half Lord of the Fishes Pose) with a focus on knees and ankles, you can follow these steps:
1. Start by sitting on the floor or on a yoga mat with your legs extended in front of you.
2. Bend your knees and place your feet on the floor. Slide your left foot under your right leg so that it rests on the outside of your right hip.
3. Keep your right leg extended and bend your right knee, bringing your right foot to the outside of your left thigh. You can keep your right foot on the floor or tuck it underneath your left buttock for support.
4. Inhale and lengthen your spine, sitting up tall.
5. As you exhale, twist your torso to the right, placing your left hand on the floor behind your back for support.
6. Press your right hand against your left knee or thigh, using it as leverage to deepen the twist. Keep your left foot grounded and engaged.
7. Lengthen your spine with each inhale, and with each exhale, twist a little deeper if comfortable. Be mindful of any sensations in your knees and ankles, avoiding any pain or discomfort.
8. Keep your neck relaxed and your gaze over your right shoulder, if it feels comfortable for your neck.
9. Hold the pose for about 30 seconds to one minute, breathing deeply and maintaining a gentle twist.
10. To release the pose, slowly unwind your torso and come back to the centre. Extend both legs in front of you and repeat the pose on the other side.
Important tips:
• If you have knee or ankle issues, be cautious while twisting and ensure that you’re not straining or causing any discomfort.
• You can modify the pose by keeping the extended leg slightly bent or using props like blocks or bolsters for support.
• Focus on the alignment of your spine and the rotation of your torso, rather than how far you can twist. The goal is to maintain a comfortable and gentle twist, respecting your body’s limitations.
• If it’s challenging to sit upright, you can sit on a folded blanket or cushion to provide some elevation and support for your hips.
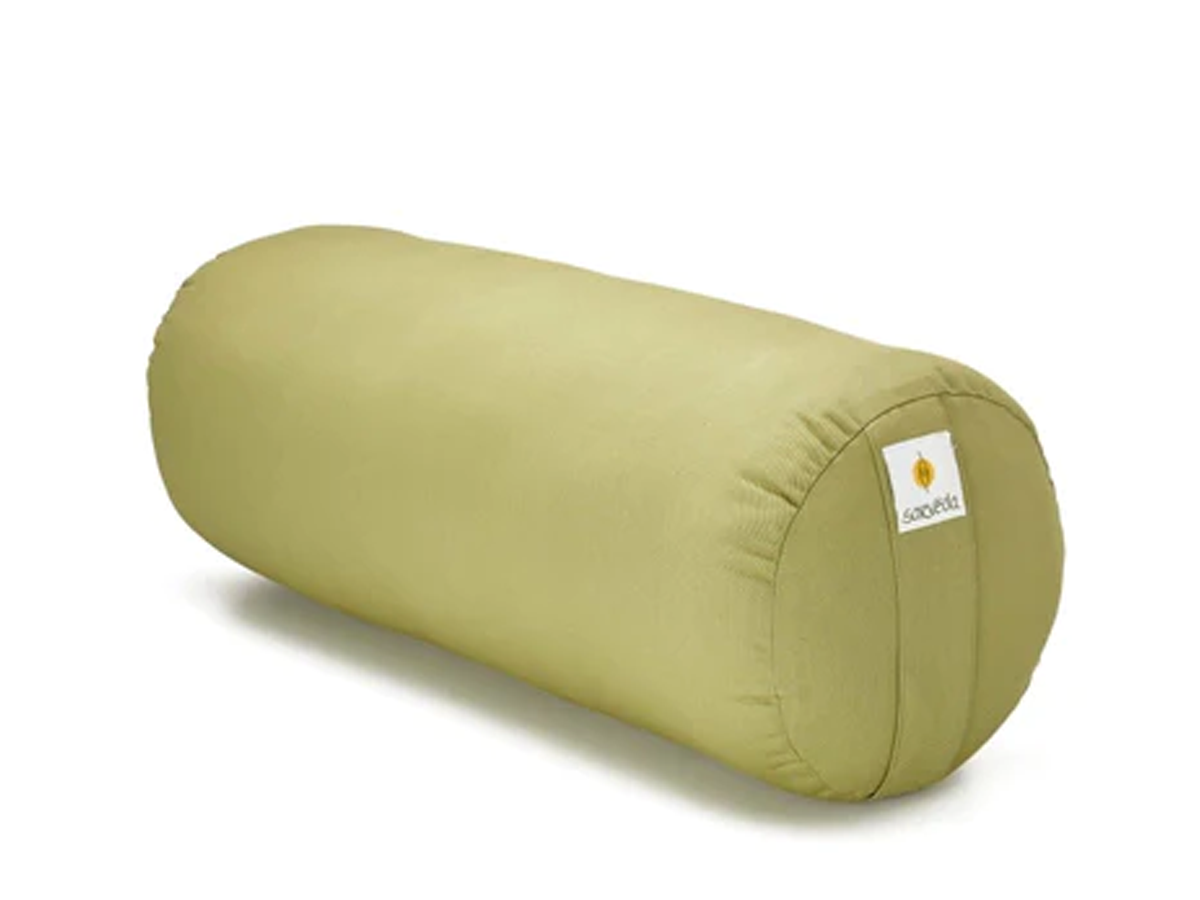
Our recommendation: Organic Cotton Yoga Bolster by Brown Living
Credits: Brown Living
The yoga bolster made with organic cotton could provide support and comfort while practising challenging yoga poses. It is a useful prop for relaxation and stress relief.
Price: INR 1,299
Buy it here
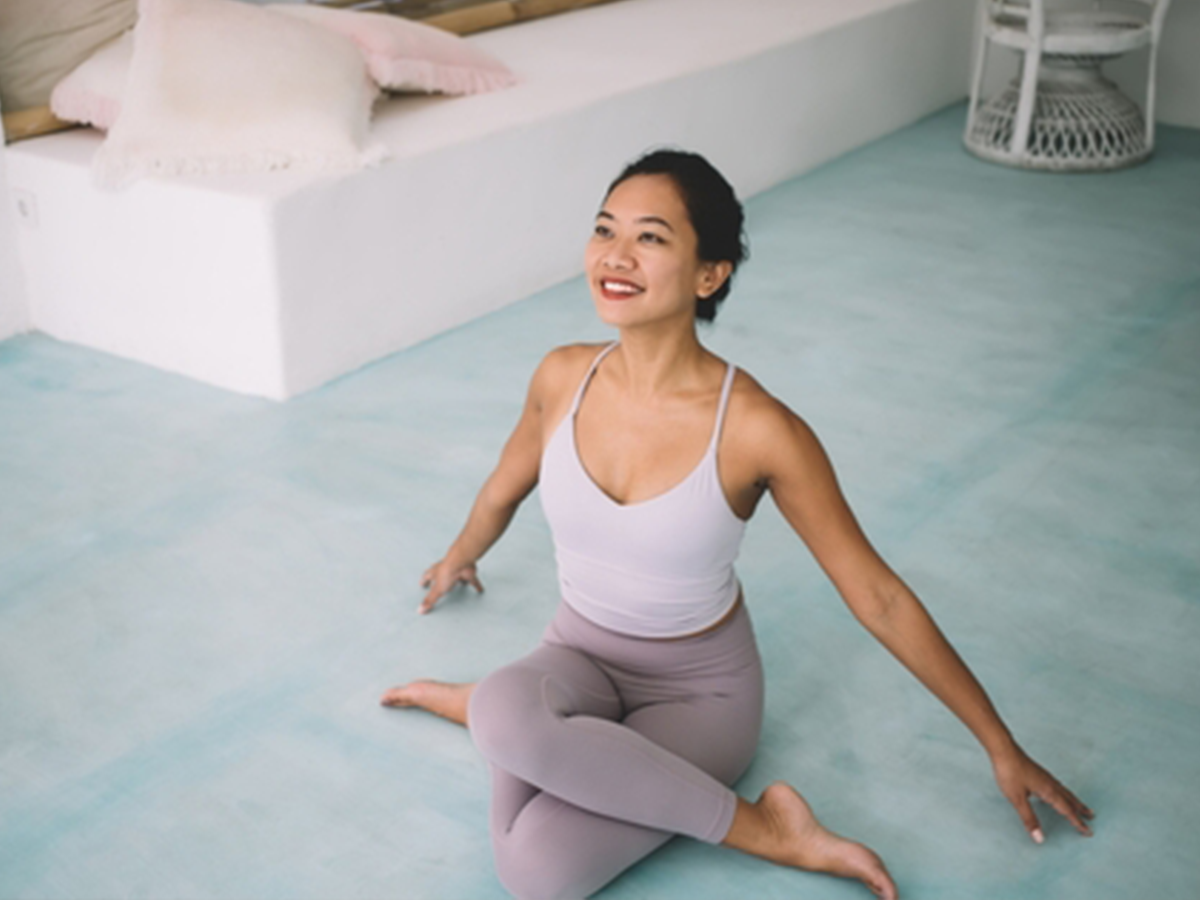
5. Agnistambhasana yoga pose (Fire Log pose)
Credits: Shutterstock
Agnistambhasana, also known as Fire Log Pose or Double Pigeon Pose, is a seated yoga pose that targets the hips, knees, and ankles. It can help improve flexibility, release tension, and provide relief for these areas. Here’s how to practise Agnistambhasana:
1. Start by sitting on the floor or on a yoga mat with your legs extended in front of you.
2. Bend your right knee and bring your right ankle to rest on top of your left thigh. The shin of your right leg should be parallel to the front of your mat, and your right foot should be flexed to protect the knee.
3. Bend your left knee and place your left ankle on top of your right shin. The left foot should be flexed as well. This creates a “stacking” of the legs, with both knees and ankles aligned.
4. If you find it difficult to stack your legs comfortably, you can modify the pose by placing a folded blanket or cushion under your top knee or ankle for support.
5. Sit up tall and lengthen your spine. If needed, you can sit on a folded blanket or cushion to elevate your hips and make it easier to maintain an upright posture.
6. Rest your hands on your knees or thighs, palms facing down or up, whichever feels comfortable.
7. Close your eyes or soften your gaze, and take slow, deep breaths. Relax your facial muscles and jaw.
8. As you hold the pose, you may feel a stretch in the outer hips, thighs, and buttocks. Focus on maintaining a comfortable stretch without pushing yourself too far.
9. Stay in Agnistambhasana for about 30 seconds to one minute, or as long as it feels comfortable for you. Remember to breathe deeply and relax into the pose.
10. To release the pose, gently uncross your legs and extend them in front of you. Shake out your legs and repeat the pose on the other side, crossing the opposite leg on top.
Important tips:
• If you experience any discomfort or strain in your knees or ankles, you can modify the pose by placing additional support under your knees or ankles, such as folded blankets or yoga blocks.
• Remember to maintain proper alignment and avoid forcing your legs into a position that causes pain or discomfort.
• Over time, with regular practice, you may find increased flexibility in your knees and ankles. However, be patient and respect your body’s limitations.
Social and lead images credits: Dharma Productions, Fox Star Studios, Nadiadwala Grandson Entertainment

