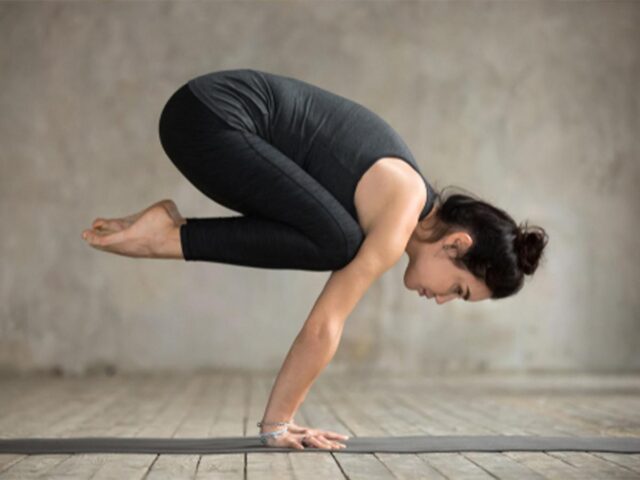
Apart from improving balance and coordination, there are a few arm-balancing yoga poses that work wonders for core strength. Practising them regularly could tone and strengthen your core effectively. Here are four such poses for a stronger and toned core.
4 Arm-balancing yoga poses that help achieve a stronger core
1. Crow Pose
 © Shutterstock
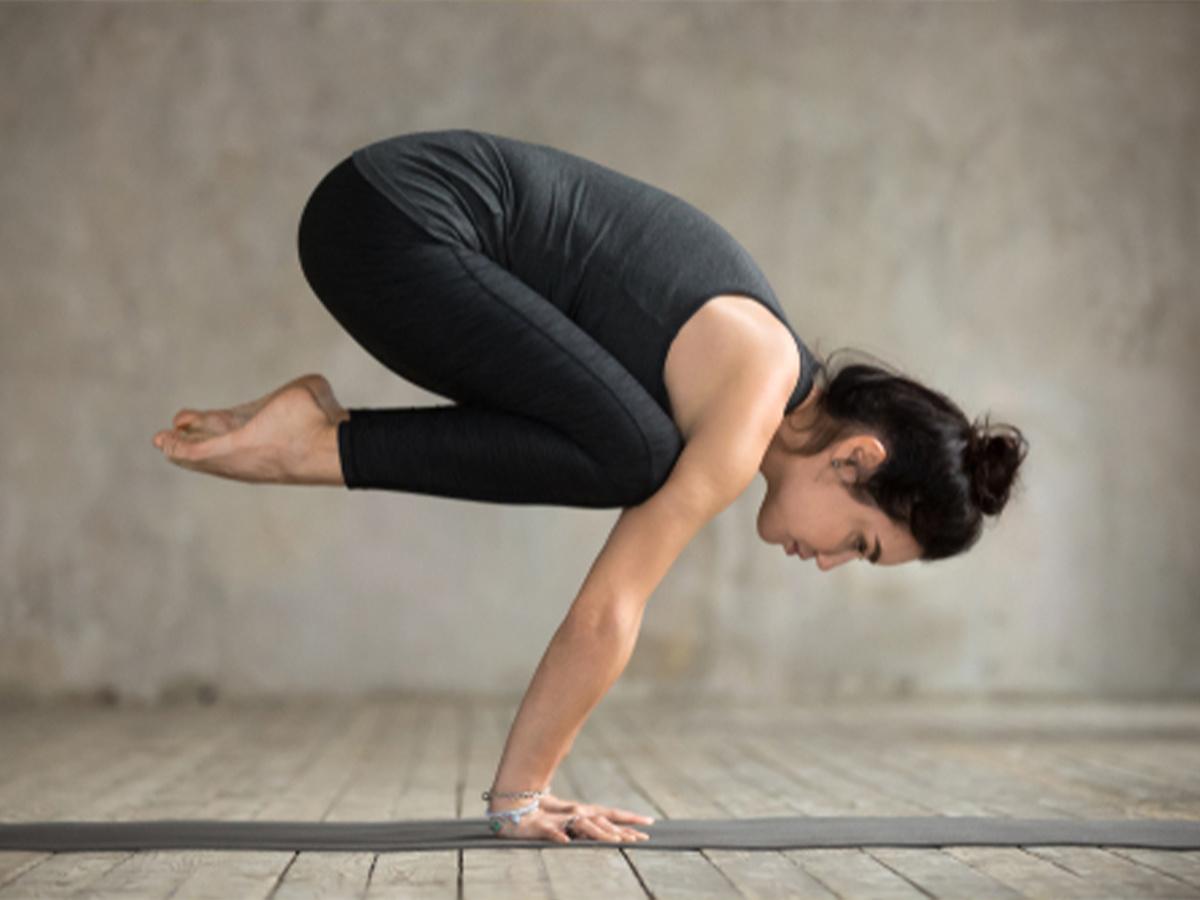
Crow pose is a foundational arm balance that targets the core, arms, and shoulders. To practise Crow Pose or Bakasana, follow these steps:
• Warm-up:
Start with a few rounds of Sun Salutations or any other dynamic warm-up sequence to prepare your body. Focus on stretching your wrists, shoulders, and hips.
• Setup:
Begin in a squatting position with your feet close together. Place your hands on the mat shoulder-width apart, fingers spread wide. The fingers should be pointing forward, and the palms should be firmly grounded.
• Stabilise your foundation:
Press your palms into the mat and spread your fingers wide for a strong grip. Feel the weight evenly distributed through your hands.
• Engage your core:
Draw your navel toward your spine to engage your core muscles. This will provide stability and support for the pose.
• Bend your elbows:
Keep your elbows slightly bent and positioned directly over your wrists. This will create a solid foundation for balancing.
• Shift your weight forward:
Begin to shift your weight forward onto your hands. Lift your hips and bring your knees onto the back of your upper arms. The knees should be as high up on the arms as possible, close to the armpits.
• Gaze forward:
Look slightly forward, about a foot in front of you, to help maintain your balance.
• Lift your feet:
Slowly start to lift one foot off the ground, followed by the other. Engage your core and hug your knees into your upper arms.
• Find your balance:
As you lift your feet, focus on finding your balance point. It might take some practice to achieve a stable position. Keep engaging your core and experiment with shifting your weight slightly forward or backward until you find the right balance.
• Hold the pose:
Once you find your balance, try to hold the Crow Pose for a few breaths. Start with shorter durations and gradually increase the time as you gain strength and confidence.
• Release the pose:
To come out of the pose, slowly lower your feet back to the ground, keeping control of your movements. You can return to a squatting position or transition into another pose.
2. Firefly Pose
 © Shutterstock
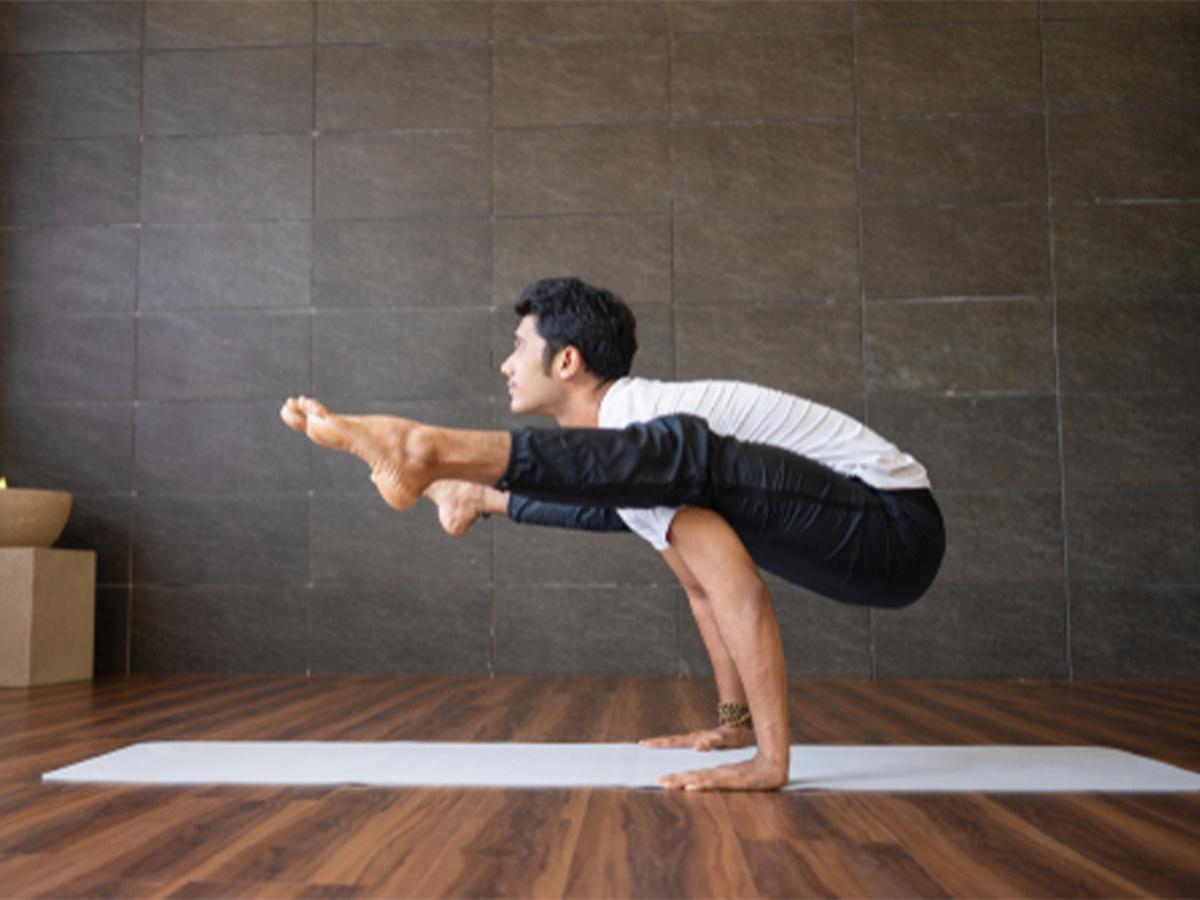
Firefly Pose, also known as Tittibhasana, is an advanced arm balance posethat requires strength, flexibility, and core engagement. Here’s a step-by-step guide to practising Firefly Pose:
• Warm-up:
Begin with a thorough warm-up to prepare your body. Focus on stretching your hips, hamstrings, inner thighs, and wrists. You can incorporate poses like Forward Folds, Butterfly Pose, and Low Lunge with a twist.
• Setup:
Start in a wide-legged forward fold (Prasarita Padottanasana) at the front of your mat. Take a wide stance with your feet about hip-distance apart or slightly wider. Bend your knees slightly and bring your palms to the ground between your legs.
• Hand placement:
Position your hands shoulder-width apart with fingers pointing forward. Place your hands directly under your shoulders, and press your palms firmly into the mat. Keep your fingers spread wide for stability.
• Core engagement:
Engage your core muscles by drawing your navel in toward your spine. This will provide support and stability for the pose.
• Shift your weight forward:
Begin to shift your weight forward onto your hands. As you shift, lean your torso slightly forward, engaging your core and lifting your hips.
• Arm placement:
Bend your elbows and place them on the back of your upper arms, just above the elbows. Your upper arms will act as a shelf for your legs, so make sure they are positioned securely.
• Leg placement:
Lift one foot off the ground and cross it over the opposite arm, resting it on the back of your upper arm. Then, lift the other foot and cross it over the opposite arm as well. Try to hook your ankles behind your arms, allowing your legs to rest on your upper arms.
• Engage your core and straighten your legs:
With your legs hooked behind your arms, engage your core and begin to straighten your legs. Extend them forward, aiming to bring them parallel to the ground. Press through your hands to maintain balance and lift your hips higher.
• Focus and breathe:
Maintain your gaze forward, focusing on a point ahead of you. Breathe deeply and evenly to help you find stability in the pose.
• Hold the pose:
Try to hold Firefly Pose for a few breaths, gradually working your way up to longer holds as you gain strength and confidence. Be mindful of your limits and avoid overstraining.
• Release the pose:
To come out of Firefly Pose, slowly bend your knees, release your legs from behind your arms, and lower your feet back to the ground. Return to a wide-legged forward fold or transition into another pose.
3. Side Crow Pose
 © Shutterstock
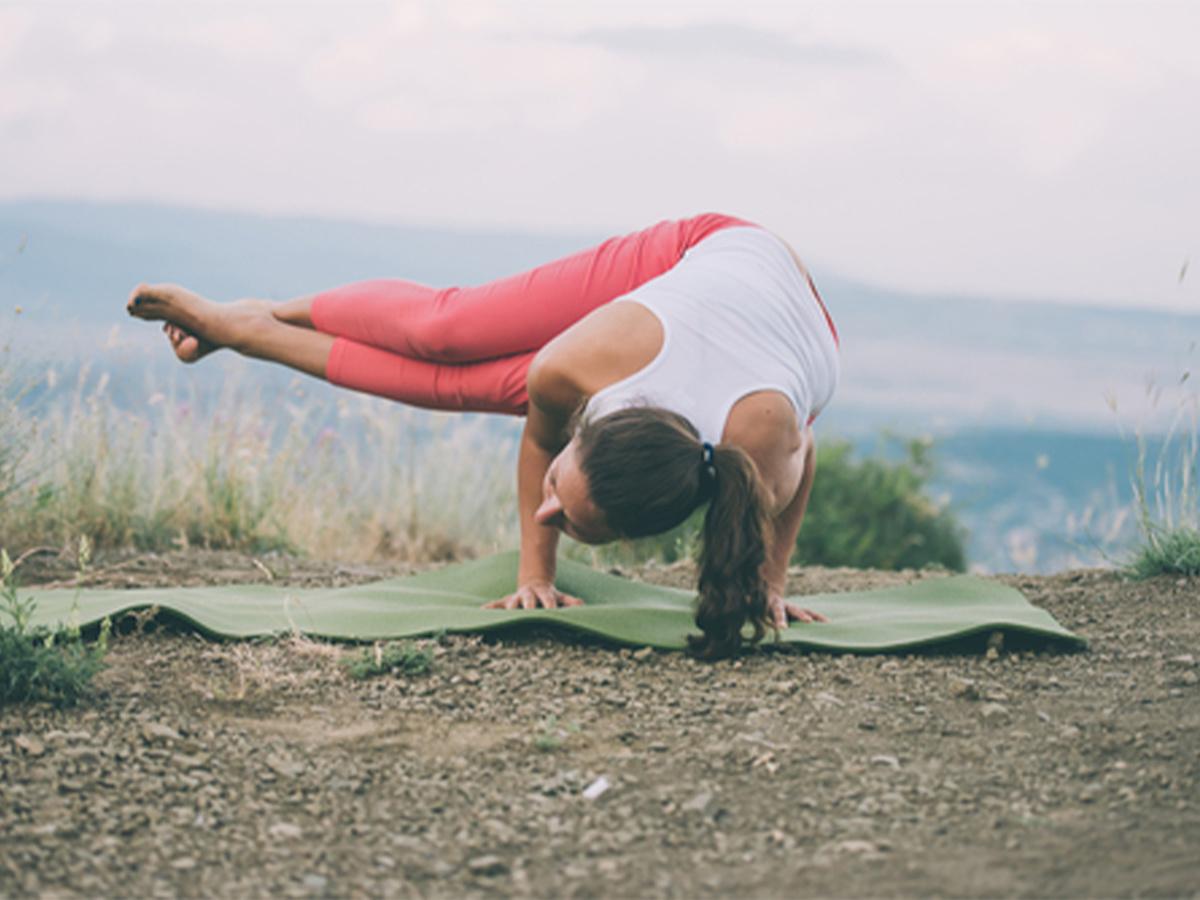
Side Crow is a variation of Crow pose that challenges your balance and strengthens the obliques. also known as Parsva Bakasana, it is a challenging arm balance that targets your core, arms, and oblique muscles. Here’s a step-by-step guide to practising Side Crow Pose:
• Warm-up:
Begin with a thorough warm-up to prepare your body. Focus on stretching your wrists, shoulders, hips, and obliques. Incorporate poses like Cat-Cow, Downward-Facing Dog, and Twists.
• Setup:
Start in a squatting position with your feet close together. Place your hands on the mat shoulder-width apart, fingers spread wide. Your fingers should be pointing forward, and the palms should be firmly grounded.
• Stabilise your foundation:
Press your palms into the mat and spread your fingers wide for a strong grip. Feel the weight evenly distributed through your hands.
• Shift your weight to one side:
Lean slightly to one side, shifting your weight onto that hand and lifting the opposite hip. For example, if you’re shifting to the right, lean to the right and lift your left hip.
• Arm placement:
As you shift your weight, bend your elbows and place your hands on the mat, slightly wider than shoulder-width apart. Your fingers should be pointing slightly outward to create a stable base.
• Hook your knee:
Bring the knee of the lifted hip towards the outside of your upper arm on the same side. Hook your knee around the upper arm, allowing it to rest on the back of your arm.
• Core engagement:
Engage your core muscles by drawing your navel towards your spine. This will provide stability and support for the pose.
• Lift your feet:
Slowly start to lift your back foot off the ground, followed by your front foot. Engage your core and hug your knee into your upper arm to help with balance.
• Find your balance:
As you lift your feet, focus on finding your balance point. Experiment with shifting your weight slightly forward or backward until you find the right balance. Use your core strength to stabilise the pose.
• Gaze forward:
Look slightly forward, focusing on a point in front of you, to help maintain your balance.
• Hold the pose:
Once you find your balance, try to hold Side Crow Pose for a few breaths. Start with shorter durations and gradually increase the time as you gain strength and confidence.
Release the pose: To come out of the pose, lower your feet back to the ground with control. Return to a squatting position or transition into another pose.
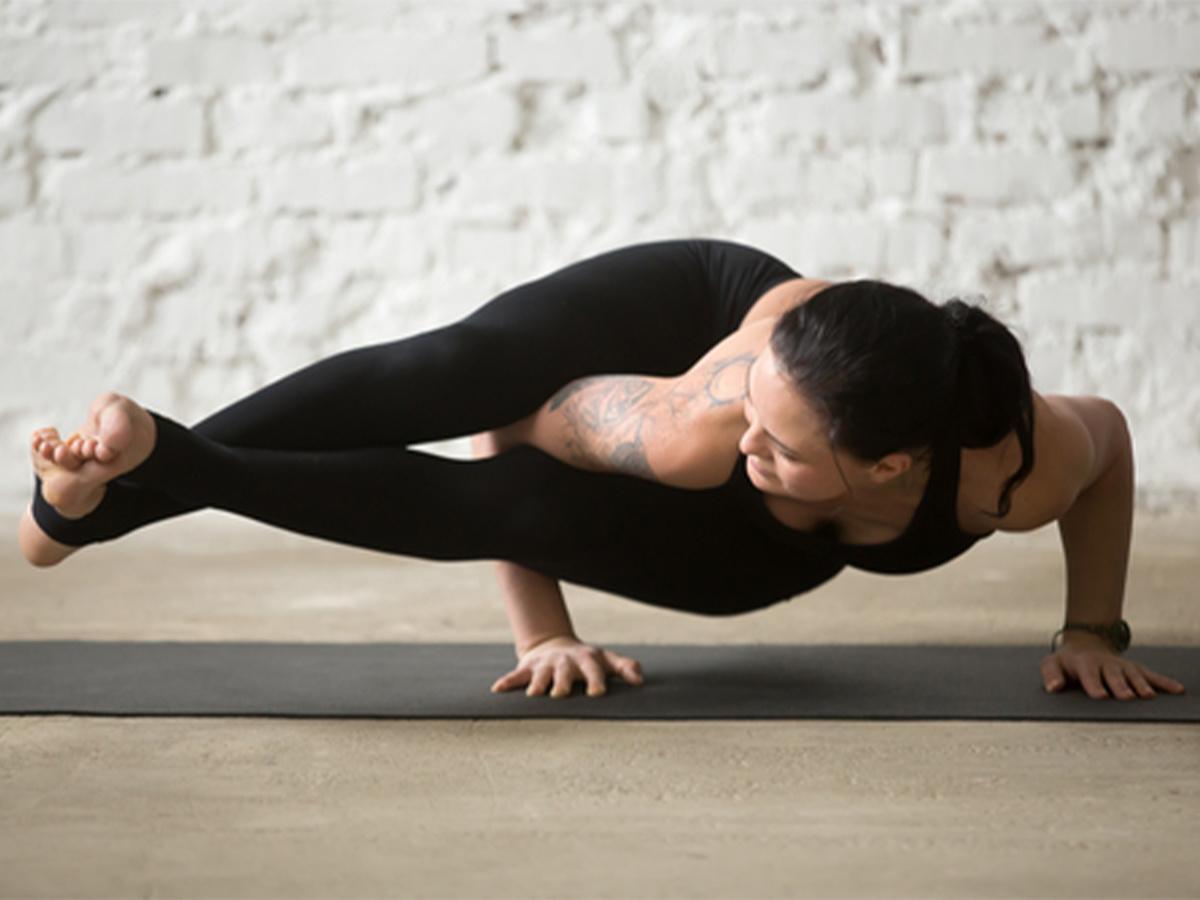
4. Eight Angle Pose
 © Shutterstock
Eight-Angle pose is a challenging arm balance that strengthens the core, arms, and wrists. Here’s a step-by-step guide to practising Eight-Angle Pose:
• Warm-up:
Begin with a thorough warm-up to prepare your body. Focus on stretching your wrists, shoulders, hips, and hamstrings. Incorporate poses like Cat-Cow, Downward-Facing Dog, and Twists.
• Setup:
Start in a seated position with your legs extended forward. Bend your knees and place your feet on the ground, hip-distance apart.
• Hand placement:
Plant your hands on the ground shoulder-width apart, fingers pointing forward. Place your hands behind your hips, fingers pointing towards your feet.
• Shift your weight:
Lean your torso slightly back and shift your weight onto your hands. Lift your hips off the ground, engaging your core and pressing through your palms.
• Leg placement:
Bend your knees and draw them towards your chest. Begin to twist your torso to the right, bringing your left upper arm to the outside of your right thigh.
• Arm placement:
Reach your left hand underneath your right thigh and wrap it around the back of your leg. Place your left hand on the ground outside your right thigh, fingers pointing forward.
• Core engagement:
Engage your core muscles by drawing your navel towards your spine. This will provide stability and support for the pose.
• Hook your foot:
Lift your left foot off the ground and hook it over your right upper arm. Aim to place your left foot behind your right upper arm, near the triceps.
• Stabilise your base:
Press firmly through your hands and engage your core to create a stable base. This will help you balance and hold the pose.
• Extend your legs:
Straighten your arms and lift your hips higher. Begin to extend your legs forward, straightening them as much as possible. Engage your core and inner thighs to keep your legs lifted.
• Focus and breathe:
Maintain your gaze forward, focusing on a point ahead of you. Breathe deeply and evenly to help you find stability in the pose.
• Hold the pose:
Try to hold Eight-Angle Pose for a few breaths, gradually working your way up to longer holds as you gain strength and confidence. Be mindful of your limits and avoid overstraining.
• Release the pose:
To come out of Eight-Angle Pose, slowly release your legs and lower your feet back to the ground. Return to a seated position or transition into another pose.
Social and lead images credits: Nadiadwala Grandson Entertainment
Special Story [widgetId: 19625]

